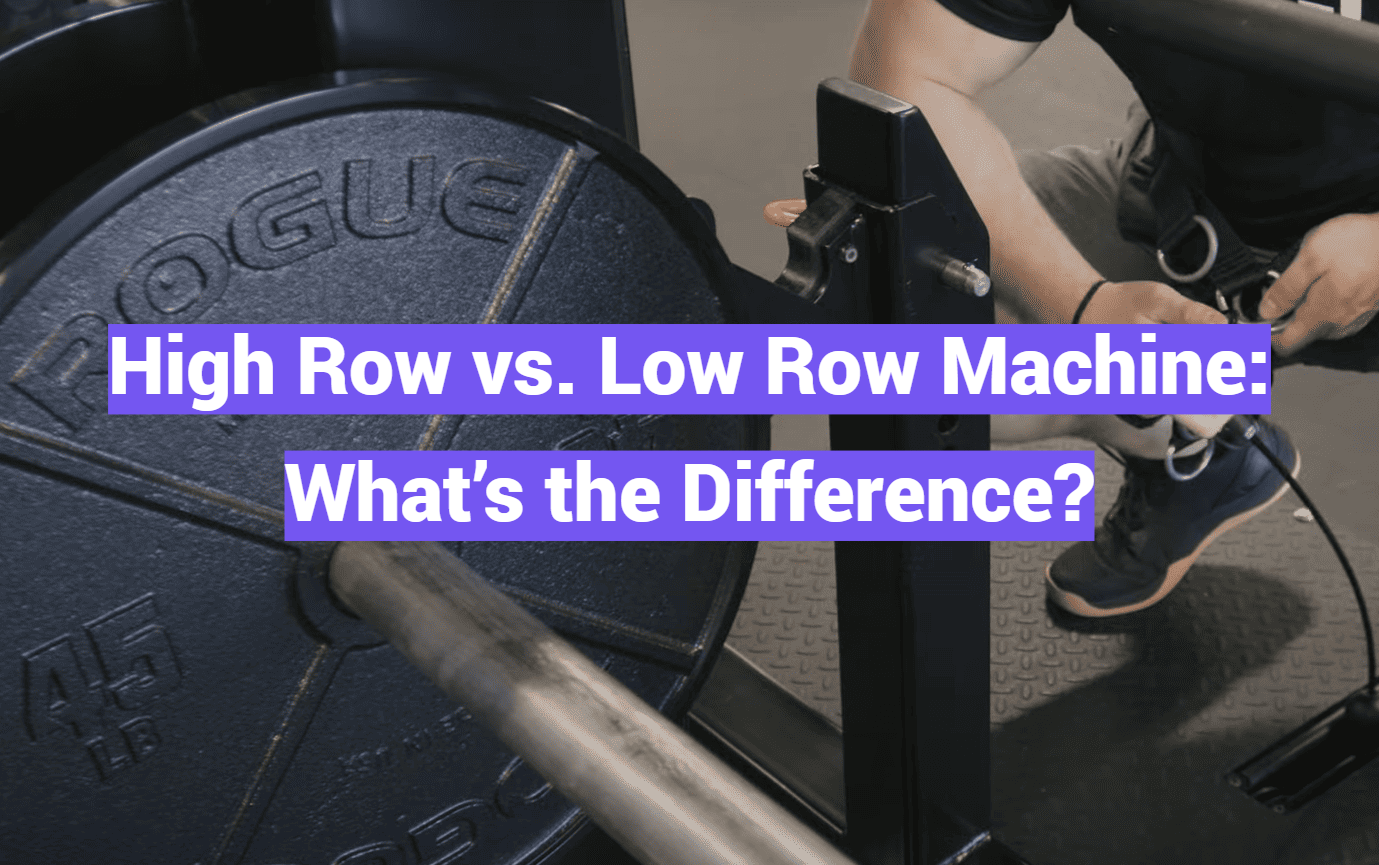
While seated row machines rank among the most popular back-building tools in fitness centers, many users miss their full potential by not understanding critical design differences. Let’s explore how two similar-looking exercises create distinct results for your physique.
Upper and lower cable row variations both engage major muscles like the latissimus dorsi and trapezius. However, grip positioning and movement angles alter which areas get the most attention. Choosing the right option helps you sculpt a balanced, powerful frame while reducing injury risks.
This guide breaks down form tips, muscle activation patterns, and expert recommendations. You’ll discover:
Key Takeaways
- How handle height changes muscle recruitment in your upper and middle back
- Why proper seat adjustment matters for shoulder safety
- Which variation better supports posture improvement goals
- Time-saving strategies to combine both machines in one workout
- Common mistakes that limit your progress (and how to fix them)
We’ll keep things simple with clear comparisons and actionable advice. Whether you’re new to strength training or refining your technique, you’ll leave ready to maximize these versatile machine benefits.
Overview of Rowing Machines and Their Benefits
Using a rowing machine isn’t just about pulling—it’s about activating key muscle groups with precision. These exercises create coordinated movement patterns that build strength across your entire upper body, making them ideal for balanced development.
Understanding the Muscle Groups Involved
The latissimus dorsi (lats) acts as the primary engine during rows, driving shoulder extension. Supporting players like the teres major and rhomboids stabilize your shoulders, while the trapezius (traps) adjusts its workload based on handle height. Here’s how muscle engagement shifts:
| Muscle | High Row Activation | Low Row Activation |
|---|---|---|
| Middle Traps | High | Low |
| Lats | Moderate | Maximum |
| Posterior Delts | Moderate | High |
Importance of Correct Form and Posture
Slouching or rounding your shoulders during rows shifts effort away from back muscles to smaller stabilizers. Keep these cues in mind:
- Anchor your feet firmly to maintain spinal alignment
- Initiate pulls by squeezing shoulder blades together
- Control the return phase to prevent momentum-driven movements
Proper technique not only boosts muscle growth but also combats posture issues caused by tight chest muscles. Pair rows with stretching for balanced upper body health.
High Row vs Low Row: Exercise Comparisons
Mastering cable-based back exercises starts with understanding how equipment adjustments shape your training. Even small changes in pulley height or grip style alter which muscles work hardest. Let’s break down two powerhouse variations and their setup secrets.
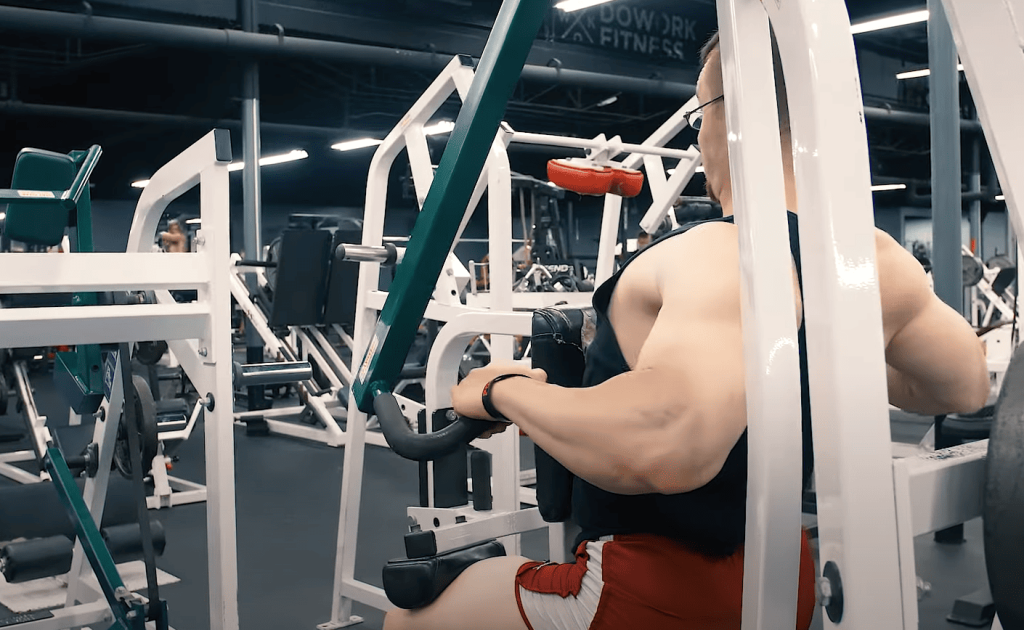
Execution Cues and Setup for High Row Machine
Position the cable pulley at eye level and attach a D-handle. Place an incline bench 6 feet from the stack. Grip the handle with an overhand hold, then step back until your working arm aligns with the cable. Rest your opposite knee on the bench while keeping your torso upright.
Pull diagonally toward your hip at a 30-45° upward angle. This hybrid movement blends vertical and horizontal pulling, hammering your lats and middle traps. The bench stabilizes your body, letting you focus on squeezing shoulder blades together during each rep.
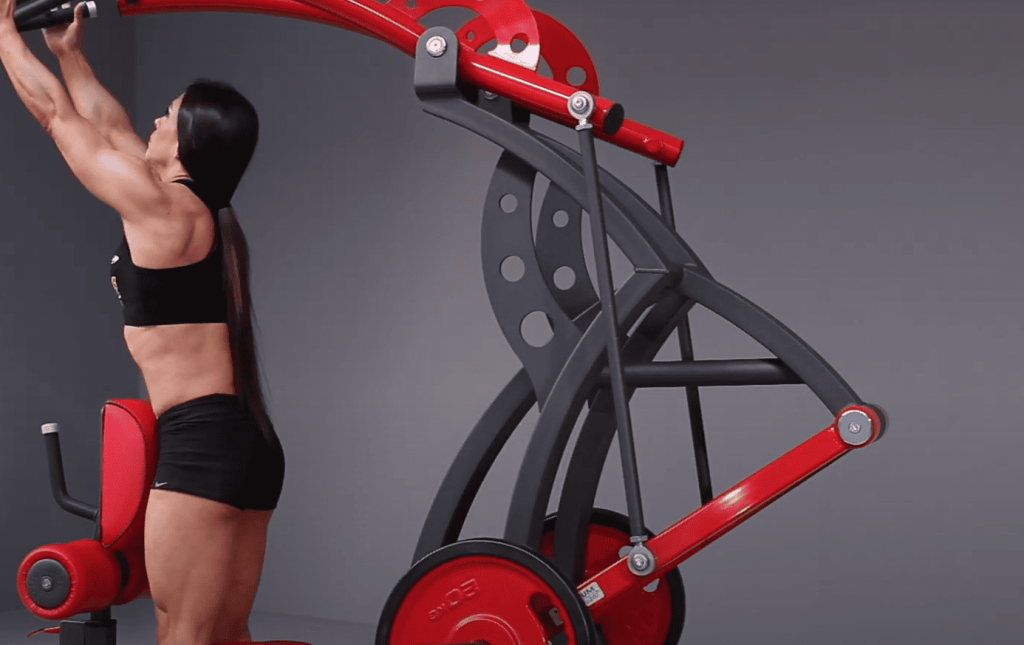
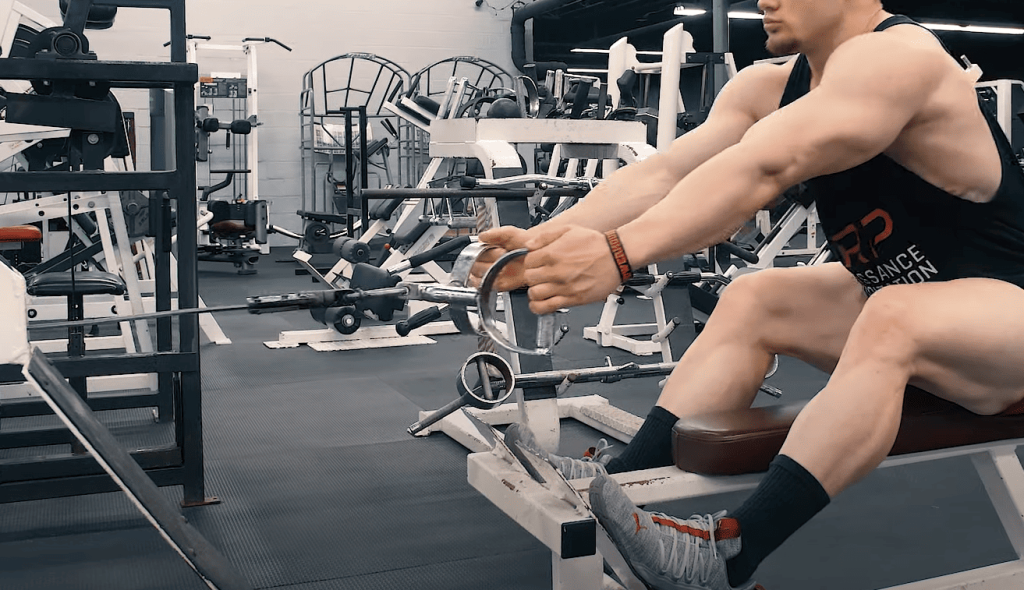
Execution Cues and Setup for Low Row Machine
Sit at a seated station with feet locked on platforms. Grab the neutral-grip handles and lean back slightly, maintaining a flat spine. Initiate the pull by driving elbows toward your ribs while rotating wrists inward. Aim for your belly button to maximize lat engagement.
Unlike its elevated counterpart, this horizontal movement challenges core stability as you resist torso sway. The neutral grip reduces wrist strain while boosting rear delt activation. Control the weight’s return to keep tension on your back muscles throughout the set.
Technique and Setup for Optimal Performance
Your grip choice becomes your back’s blueprint during cable-based pulling movements. Small adjustments in hand placement and torso alignment determine whether you’re building functional strength or reinforcing bad habits.
Grip Variations and Range of Motion
Neutral grips (palms facing each other) keep elbows tight to your sides, directing effort toward the lats and rear delts. Overhand grips widen elbow positioning, recruiting more upper back fibers. Think of your hands as dials—rotate them slightly to shift emphasis between muscle groups.
Full shoulder extension remains non-negotiable for both variations. Pull handles until your scapulae nearly touch, then release slowly. Compromising this motion reduces time under tension and limits muscle-building potential.
Lock your chest forward and ribs down to maintain spinal neutrality. Imagine balancing a book on your head—any forward lean transfers work to the arms and chest. Excessive backward tilting? That’s your lower back stealing reps from your traps.
Rocking your torso turns targeted training into momentum-driven flailing. Reduce the weight stack if you can’t complete reps without swaying. Quality repetitions beat ego-lifting every time.
Many lifters hyperextend hips to move heavier loads. This turns a back exercise into a full-body heave. Keep hips static and drive through your heels to isolate upper-body muscles.
Pro tip: Sync your breathing with the movement—exhale during the pull, inhale on release. Mentally visualize squeezing a pencil between your shoulder blades at peak contraction.
User Preferences and Expert Recommendations
Fitness enthusiasts often gravitate toward tools that deliver visible results with manageable complexity. Recent data from Planfit reveals clear trends in equipment preferences, backed by coaching insights for optimizing back development.
Planfit Users’ Choice and Performance Data
Analyzing 1 million completed sessions, elevated pulley exercises were selected 4,545 times versus 3,112 for seated horizontal pulls. This 31% preference gap likely stems from three factors:
- Simpler setup requiring less core stabilization
- Direct lat engagement creating visible width gains
- Reduced lower back strain during heavy sets
| Focus Area | Elevated Pulls | Seated Pulls |
|---|---|---|
| Primary Muscles | Lats, upper traps | Rhomboids, mid-traps |
| Ideal Rep Range | 6-10 | 8-12 |
| Safety Priority | Shoulder positioning | Spinal alignment |
Coach’s Comments and Expert Tips
“Your goals dictate your equipment choice,” notes certified strength coach Alicia Torres. Elevated variations excel for building wing-like lats, while seated versions strengthen posture muscles between shoulder blades.
For balanced development:
- Alternate between machines weekly
- Pair with deadlifts for comprehensive back training
- Use seated pulls as warm-ups for heavy lifts
Torres advises: “Start with 3 sets of 8-10 reps on elevated pulls, then transition to lighter seated sets focusing on scapular retraction.” This approach maximizes hypertrophy while maintaining joint health.
Conclusion
Building a powerful back requires strategic exercise selection. The elevated cable pull shines for sculpting middle traps and rhomboids, while seated horizontal rows deliver superior lat activation. These complementary movements address different angles of upper-body development.
Rotate both exercises in your routine—pair them in one session or alternate weekly. This approach ensures balanced growth from shoulder blades to waistline. Bonus perk: both variations engage biceps through natural elbow flexion, giving arms extra attention.
Prioritize control over weight to maintain proper spinal alignment. Experiment with grip widths and handle positions to discover what challenges your muscle groups best. Consistent practice with varied techniques builds resilience and visual definition.
Your back thrives on smart training choices. Combine these machine variations, focus on form, and watch your posture transform alongside your strength. Ready to row your way to better results?